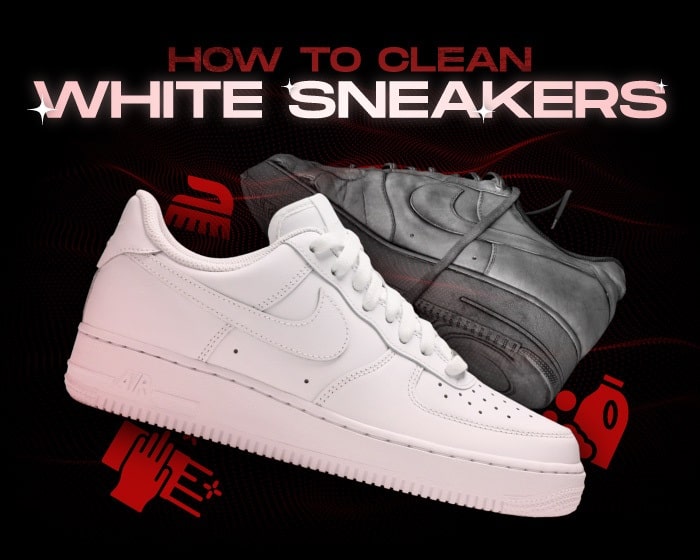
Who doesn’t like white sneakers? They’re versatile, sleek, and you can wear them with almost anything! However, their only downside is that they easily get dirty and require constant maintenance because of that. Every scuff, stain, or dirt mark looks like a sore on these babies. So today, we’re gonna show you how to clean white sneakers and how to maintain them. After all, we all want our kicks to look their best for the longest time possible. But before we dive in, we also prepped more guides for you, because kicks come in different materials. And you know, every material needs specific care!
- Mesh sneakers cleaning guide
- Leather sneakers cleaning guide
- Suede sneakers cleaning guide
- Best sneaker cleaning kits

How to Clean White Sneakers – Best Methods and Applications
What You’ll Need & Prepping
Before you start with the actual cleaning, you should have all the items you’ll need on hand. You should get a soft-bristled brush, a sneaker cleaner, warm water, a soft microfiber cloth, and a toothbrush. If you don’t have a sneaker-specific cleaner, you can get any mild detergent! Next up, you should remove the shoelaces and insoles if you wanna go for a deep clean. Now, once all that is ready, you can get on with the actual cleaning of the kicks!
Remove Surface Dirt
For the most obvious dirt on your kicks, you can use the soft-bristled brush to scrub and remove them all. However, make sure you don’t scrub the kicks too hard because you don’t wanna ruin the material! For the more stubborn stains, you can go for spot cleaning. Just get the toothbrush, dip it in a mix of the cleaner/detergent and gently scrub that area. Now, don’t worry if the stain doesn’t completely go away, because you can now move on to the full cleanse.

The Full Sneaker Cleaning
Now that we’re done with spot cleaning, let’s dig into the real deal! To clean the shoes, you should start by filling a bowl with warm water. Then, you should mix it with the sneaker cleaner or mild detergent. After that, dip the microfiber cloth in that water and then wring it out. Once you do all that, you should gently scrub your sneakers with the cloth. Of course, you should pay attention to those stains that remain that need extra cleaning. Again, don’t scrub too hard, because we don’t wanna damage the kicks!
How to Dry and Maintain the Kicks After Cleaning Them
Drying
Now that we’re done with the cleaning, we gotta let the kicks dry. First and foremost, you shouldn’t use direct heat sources like hairdryers on the sneakers. You see, this can cause the material to shrink, warp, or even destroy the glue holding the kicks together. Instead, you should place your sneakers in a well-aired area and allow them to air dry. It can take several hours for them to completely dry, so make sure you don’t need your kicks that day. Finally, once your sneakers are dry, you can put the shoelaces and insoles that you removed back in place.
Maintenance
Last but not least, there are measures that you can take before you even get to the cleaning stage. You see, maintenance is as vital as cleaning because it can protect your kicks before anything even happens to them. Naturally, we recommend that you don’t wear your white sneakers during a rainy day when there’s a chance of mud. However, there are always sneaker protection techniques that you can use. Those include a protective spray or repellent that can protect your kicks from the elements.
Now That You Know How to Clean White Sneakers…
Since you now learned how to clean white sneakers, you can now take care of all your precious babies. So if you follow all these steps, you’ll manage to extend their lifespan! But if your sneakers are unsalvageable, then maybe it’s time to purchase a new pair. And well, you definitely don’t wanna pay resale values for these babies. Don’t worry though, buying sneakers for retail is achievable, and we can show you how here. Godspeed!


